Key Takeaways:
- PU coating for wood adds durability and a professional finish to wooden furniture, extending its life and enhancing its appearance.
- Proper surface preparation, including cleaning and sanding, ensures smooth application and long-lasting adhesion of PU coating.
- Applying and sanding between multiple coats prevents flaws, achieving a polished, even finish.
- Routine maintenance, including gentle cleaning and periodic re-coating, preserves PU-coated furniture’s beauty and durability over time.
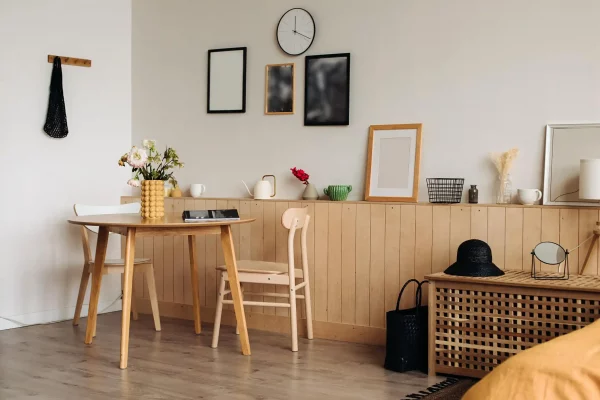
A beautiful wooden table or cherished vintage chair brings warmth and character to any room. But to keep that charm alive, it takes more than admiration – it needs care and protection. Wooden furniture can lose its lustre over time due to exposure to everyday wear and environmental factors. That’s where PU coating steps in, offering a reliable way to preserve its beauty and extend its life.
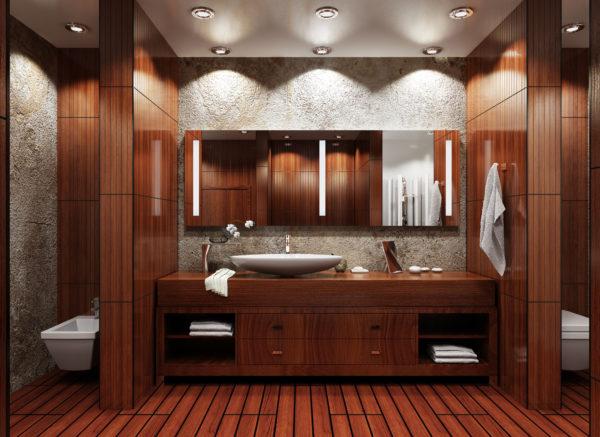
What is PU coating? Polyurethane coating for wood, commonly known as PU coating, is a protective finish applied to furniture. It boosts durability, wear resistance, and longevity against environmental factors. Plus, applying a PU coating results in a sleek, professional finish.
This solution is especially valuable for restoration and refinishing.
Want to learn how to use PU coating? This article covers key steps and tips for a beautiful, long-lasting finish.
Step 1: Assessing Your Wooden Furniture Before PU Coating
The age and condition of your furniture determine the necessary surface preparation steps. Begin by assessing its current state.
Here’s how you can do this:
- Inspect for Damage – Spot cracks, dents, and worn areas that need repair.
- Test for Existing Coatings – Determine if an old coating needs removal.
- Clean the Surface – Wipe down dust and dirt to assess the surface better. A mild cleaning solution or basic tools are great options here.
Step 2: Preparing the Surface for PU Coating
Clean and smooth surfaces define the PU coating’s quality and appeal. Surface preparation ensures coating adhesion and prevents peeling or bubbling.
Here’s how you can do this:
- Sand the Furniture – This creates a receptive surface. Start with coarser grits (P150) to remove existing coatings and imperfections. Follow with finer grits (P180, P220, P320) for smoothening.
- Fill Cracks and Imperfections – Apply wood fillers for a smooth base.
- Remove Dust – Use a tack cloth, vacuum, and a damp cloth. Any remaining dust can affect the final appearance and adhesion of the PU coating.
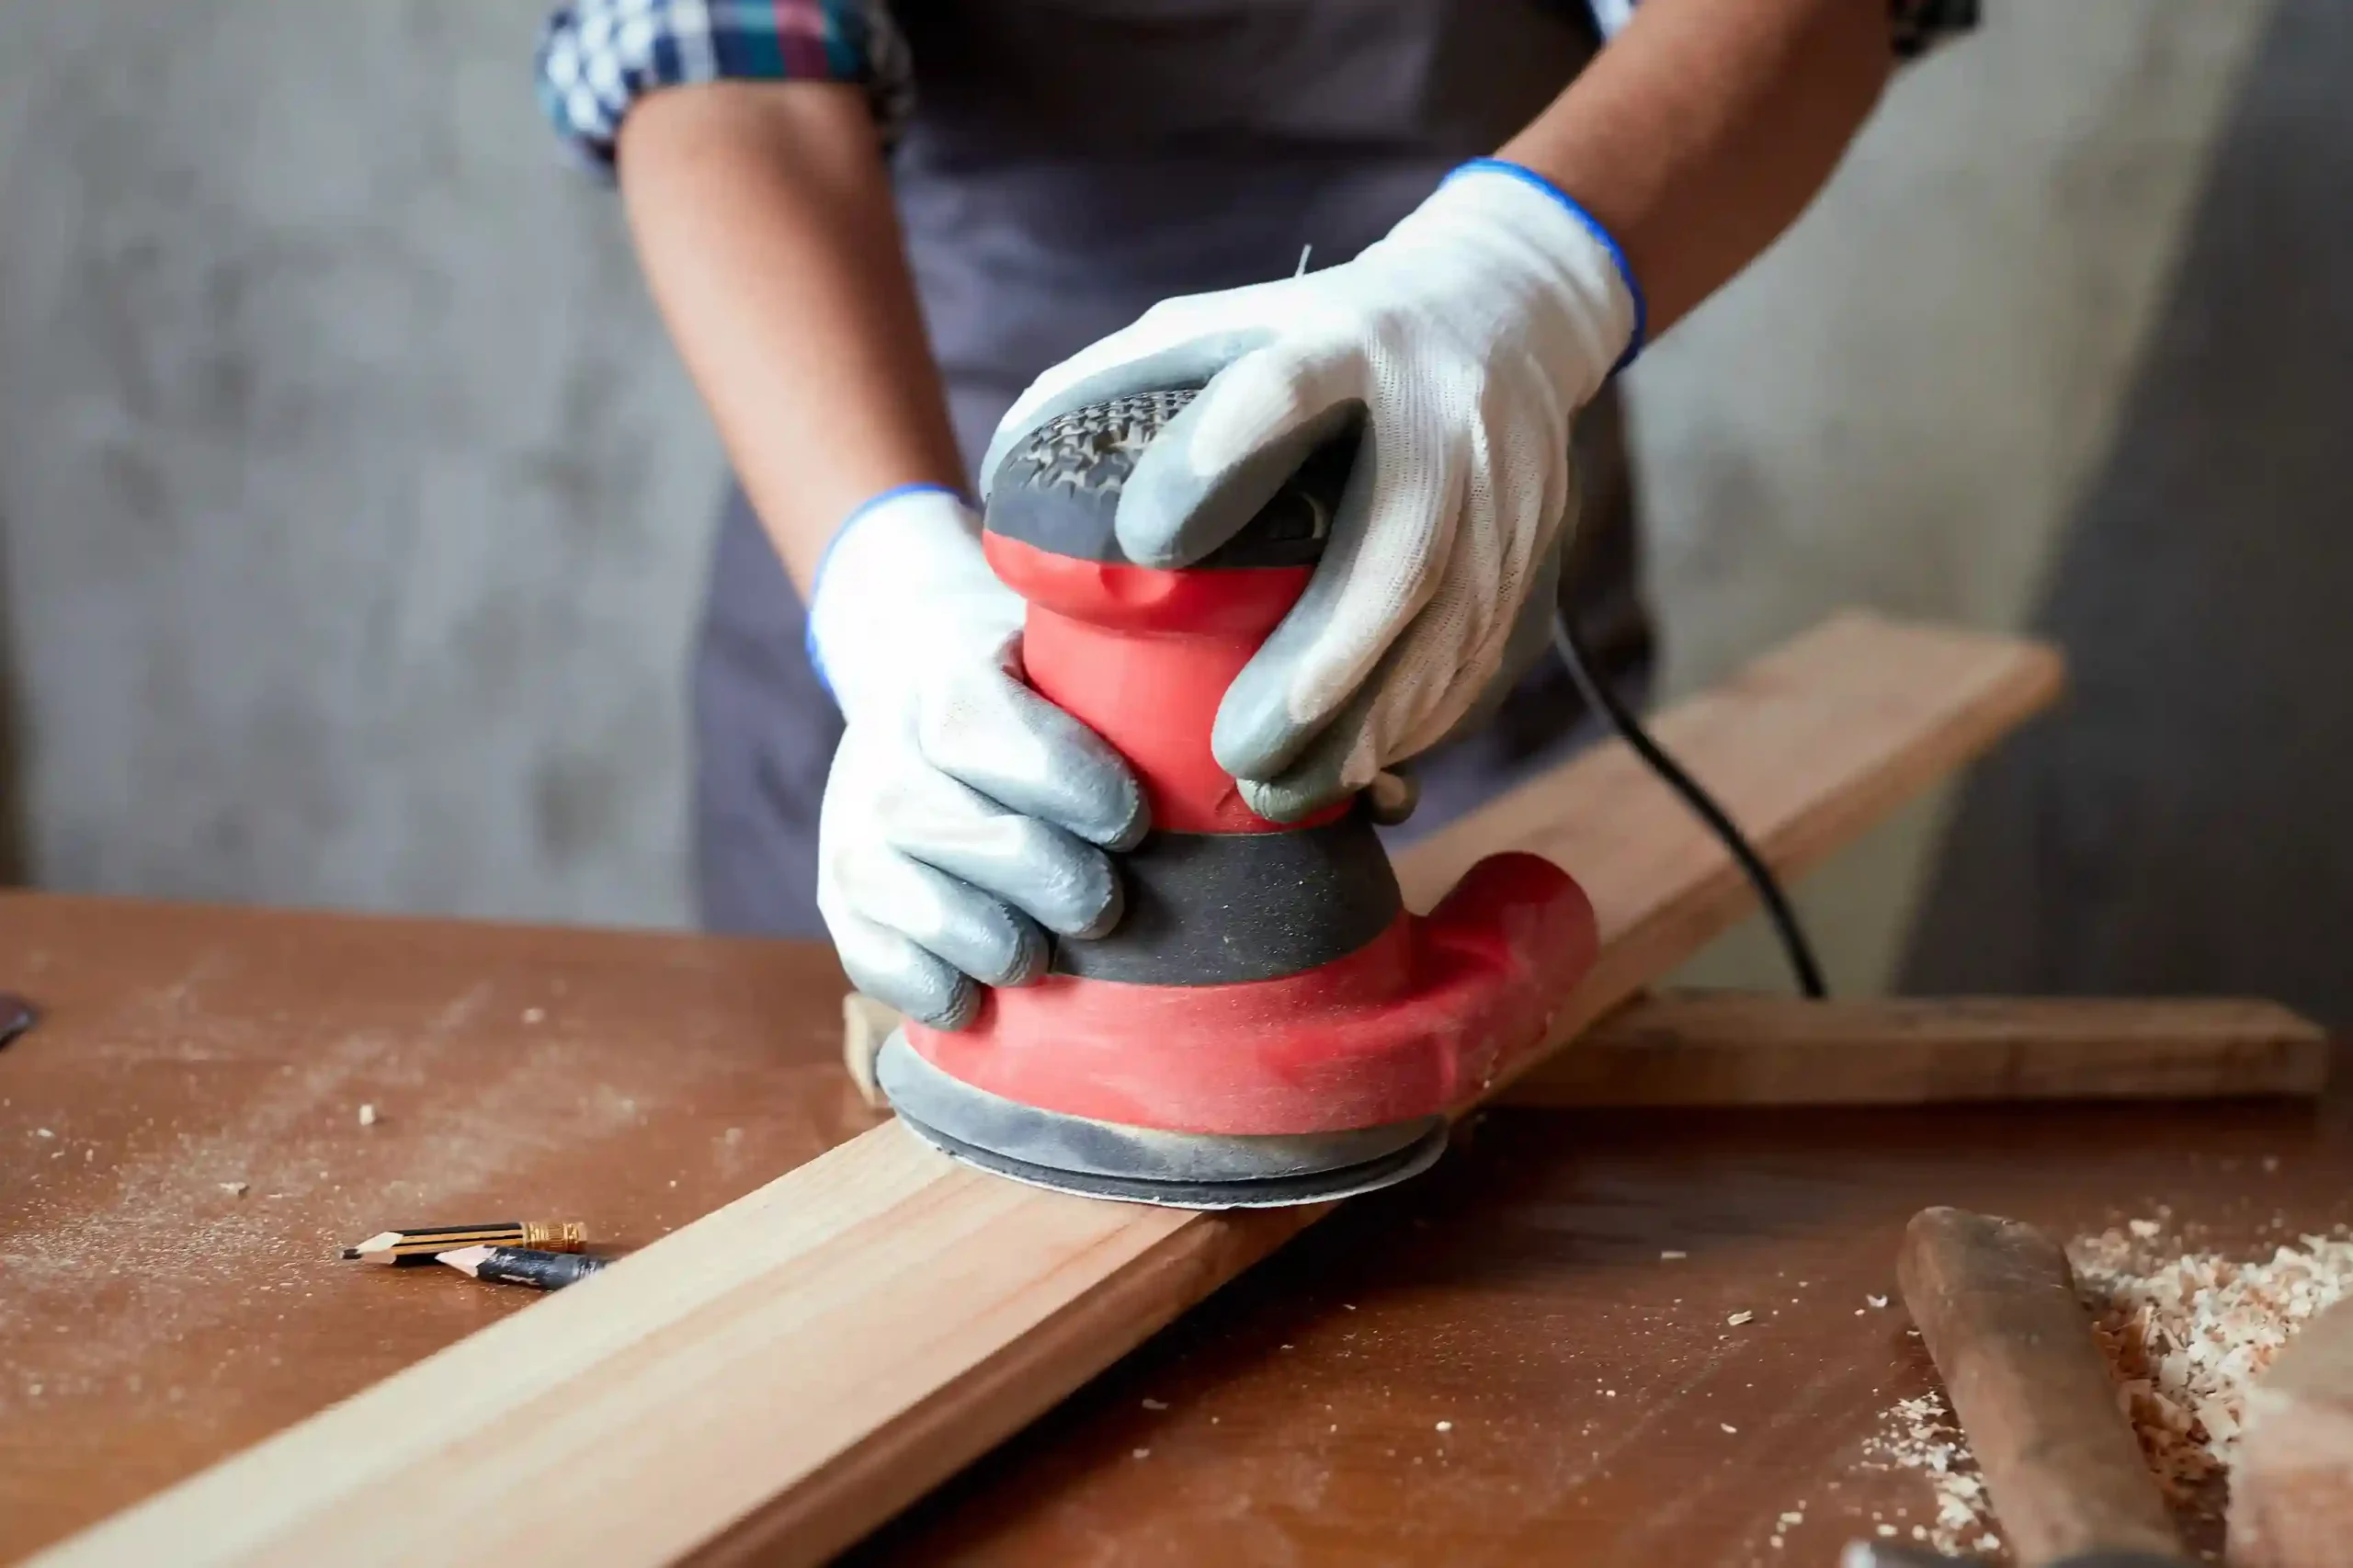
Step 3: Applying the First Layer of PU Coating to the Wood
Apply the first layer of PU coating to create a durable base for further coatings.
Here’s how you can do this:
- Choose the Right PU Coating – While both water-based and solvent-based PU coating for wood provides enhanced durability, water-based coatings come with the added advantage of being eco-friendly. When it comes to PU coatings, the ICA Finezza PU range of products provides a perfect blend of durability and aesthetics.
- Select Your Coating Tool – Spray guns, brushes, and rollers are popular among professionals. Spray guns are ideal for most surfaces because of their smooth finish and fast application.
- Apply Coating – Make long, even strokes to avoid streaks and bubbles.
- Allow Drying – Let the first layer dry completely before moving to the next step to ensure proper adhesion and finish.
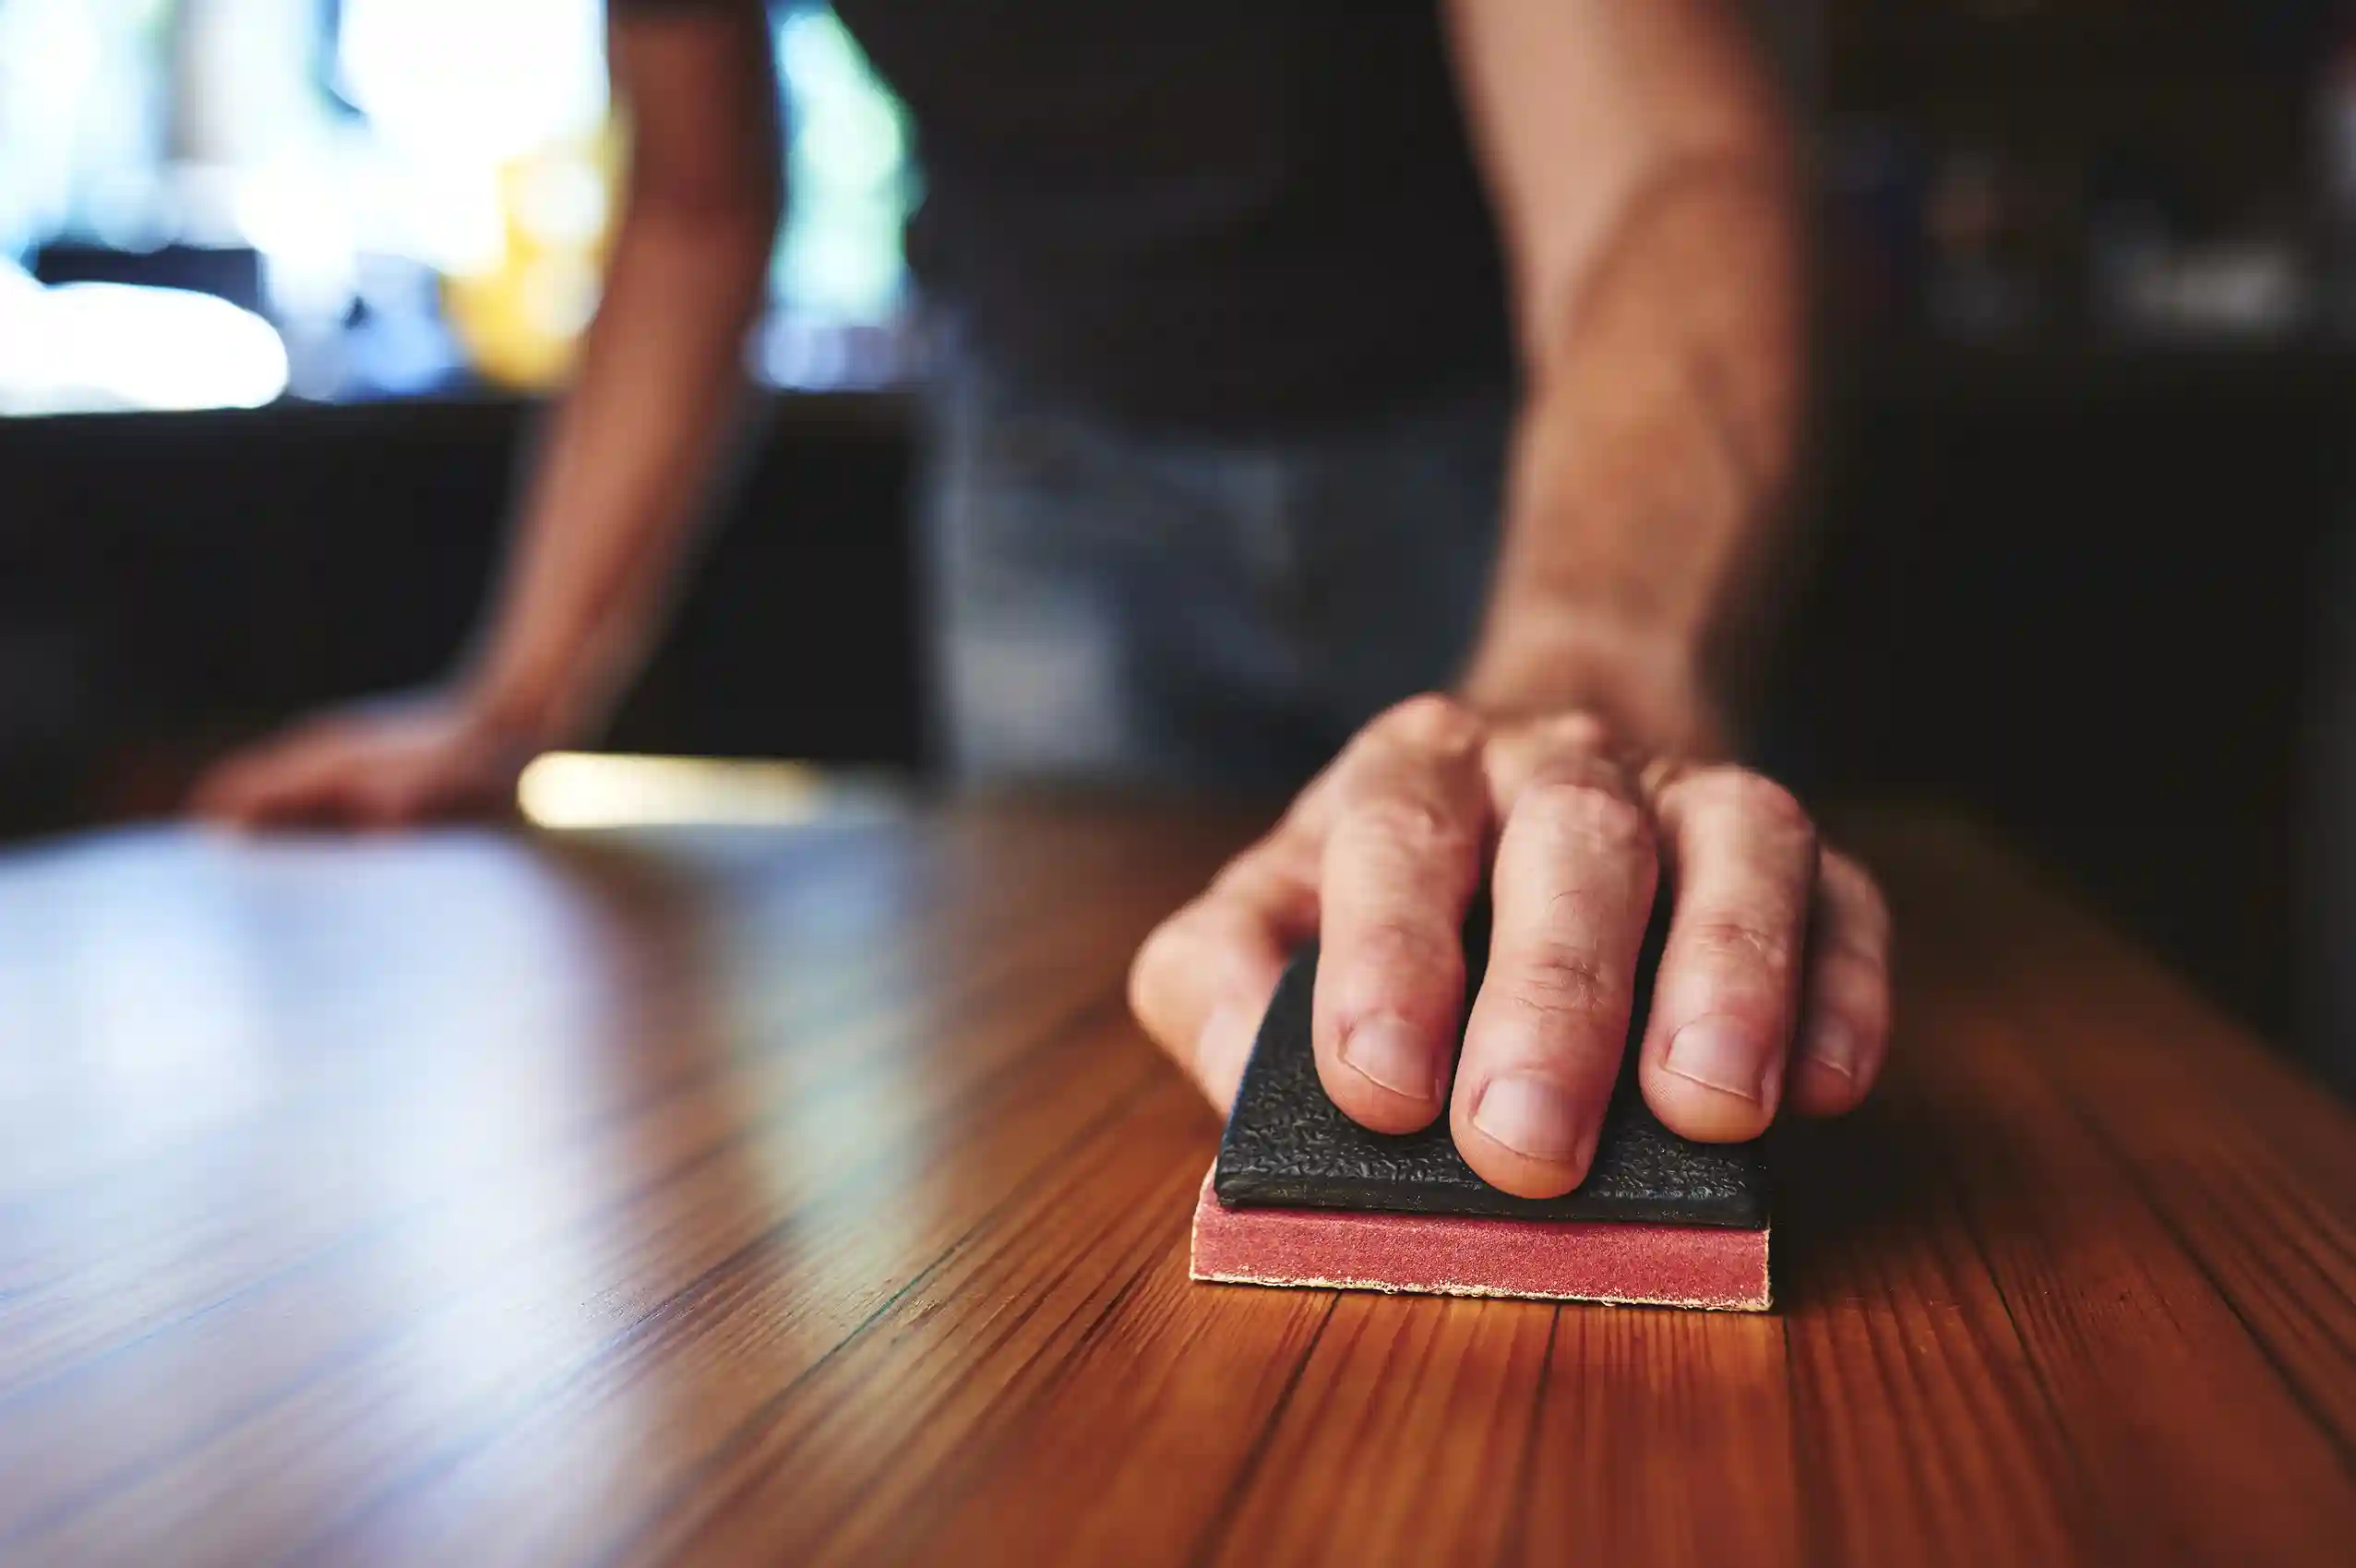
Step 4: Sanding Between Coats
This step is crucial for achieving a smooth, flawless finish. Sanding removes imperfections like brush marks and creates adhesion for the next layer.
Here’s how you can do this –
- Choose Your Sandpaper – Use P320-P400 grit for light sanding between coats.
- Dust Removal – Always thoroughly clean the dust before applying the next coat to avoid surface flaws.
Remember, skipping this step results in uneven surfaces and a rough finish.
Step 5: Applying the Final PU Coating
An additional layer of coating helps enhance the finish’s durability and boosts its overall appeal with a smooth, polished look. Once sanding is complete, proceed to apply the final PU coating.
Here’s how you can do this:
- Ensure an Even Application – Apply light, uniform strokes to avoid uneven areas.
- Let it Dry Completely – Allow proper curing and drying time for durability.
- Final Touches – Use a soft cloth to polish the curved surface for a refined look.
Step 6: Maintenance Tips for PU-Coated Furniture
Even after a perfectly applied PU coating, longevity requires regular maintenance. Here’s how you can do this:
- Cleaning – Use mild, non-abrasive cleaners for regular maintenance.
- Avoiding Damage – Keep away from sharp objects and direct exposure to sunlight.
ICA Pidilite offers a range of PU coatings ideal for periodic re-coating, helping you keep your cherished furniture looking its best.